Setting up the cameras
Rolling shutter calibration measurements
There are probably a number of possible ways to measure the rolling shutter line rate of a camera, so feel free to use your imagination. Here is one way of doing it:
Find a place you can make very dark (or wait until night time to do the measurement).
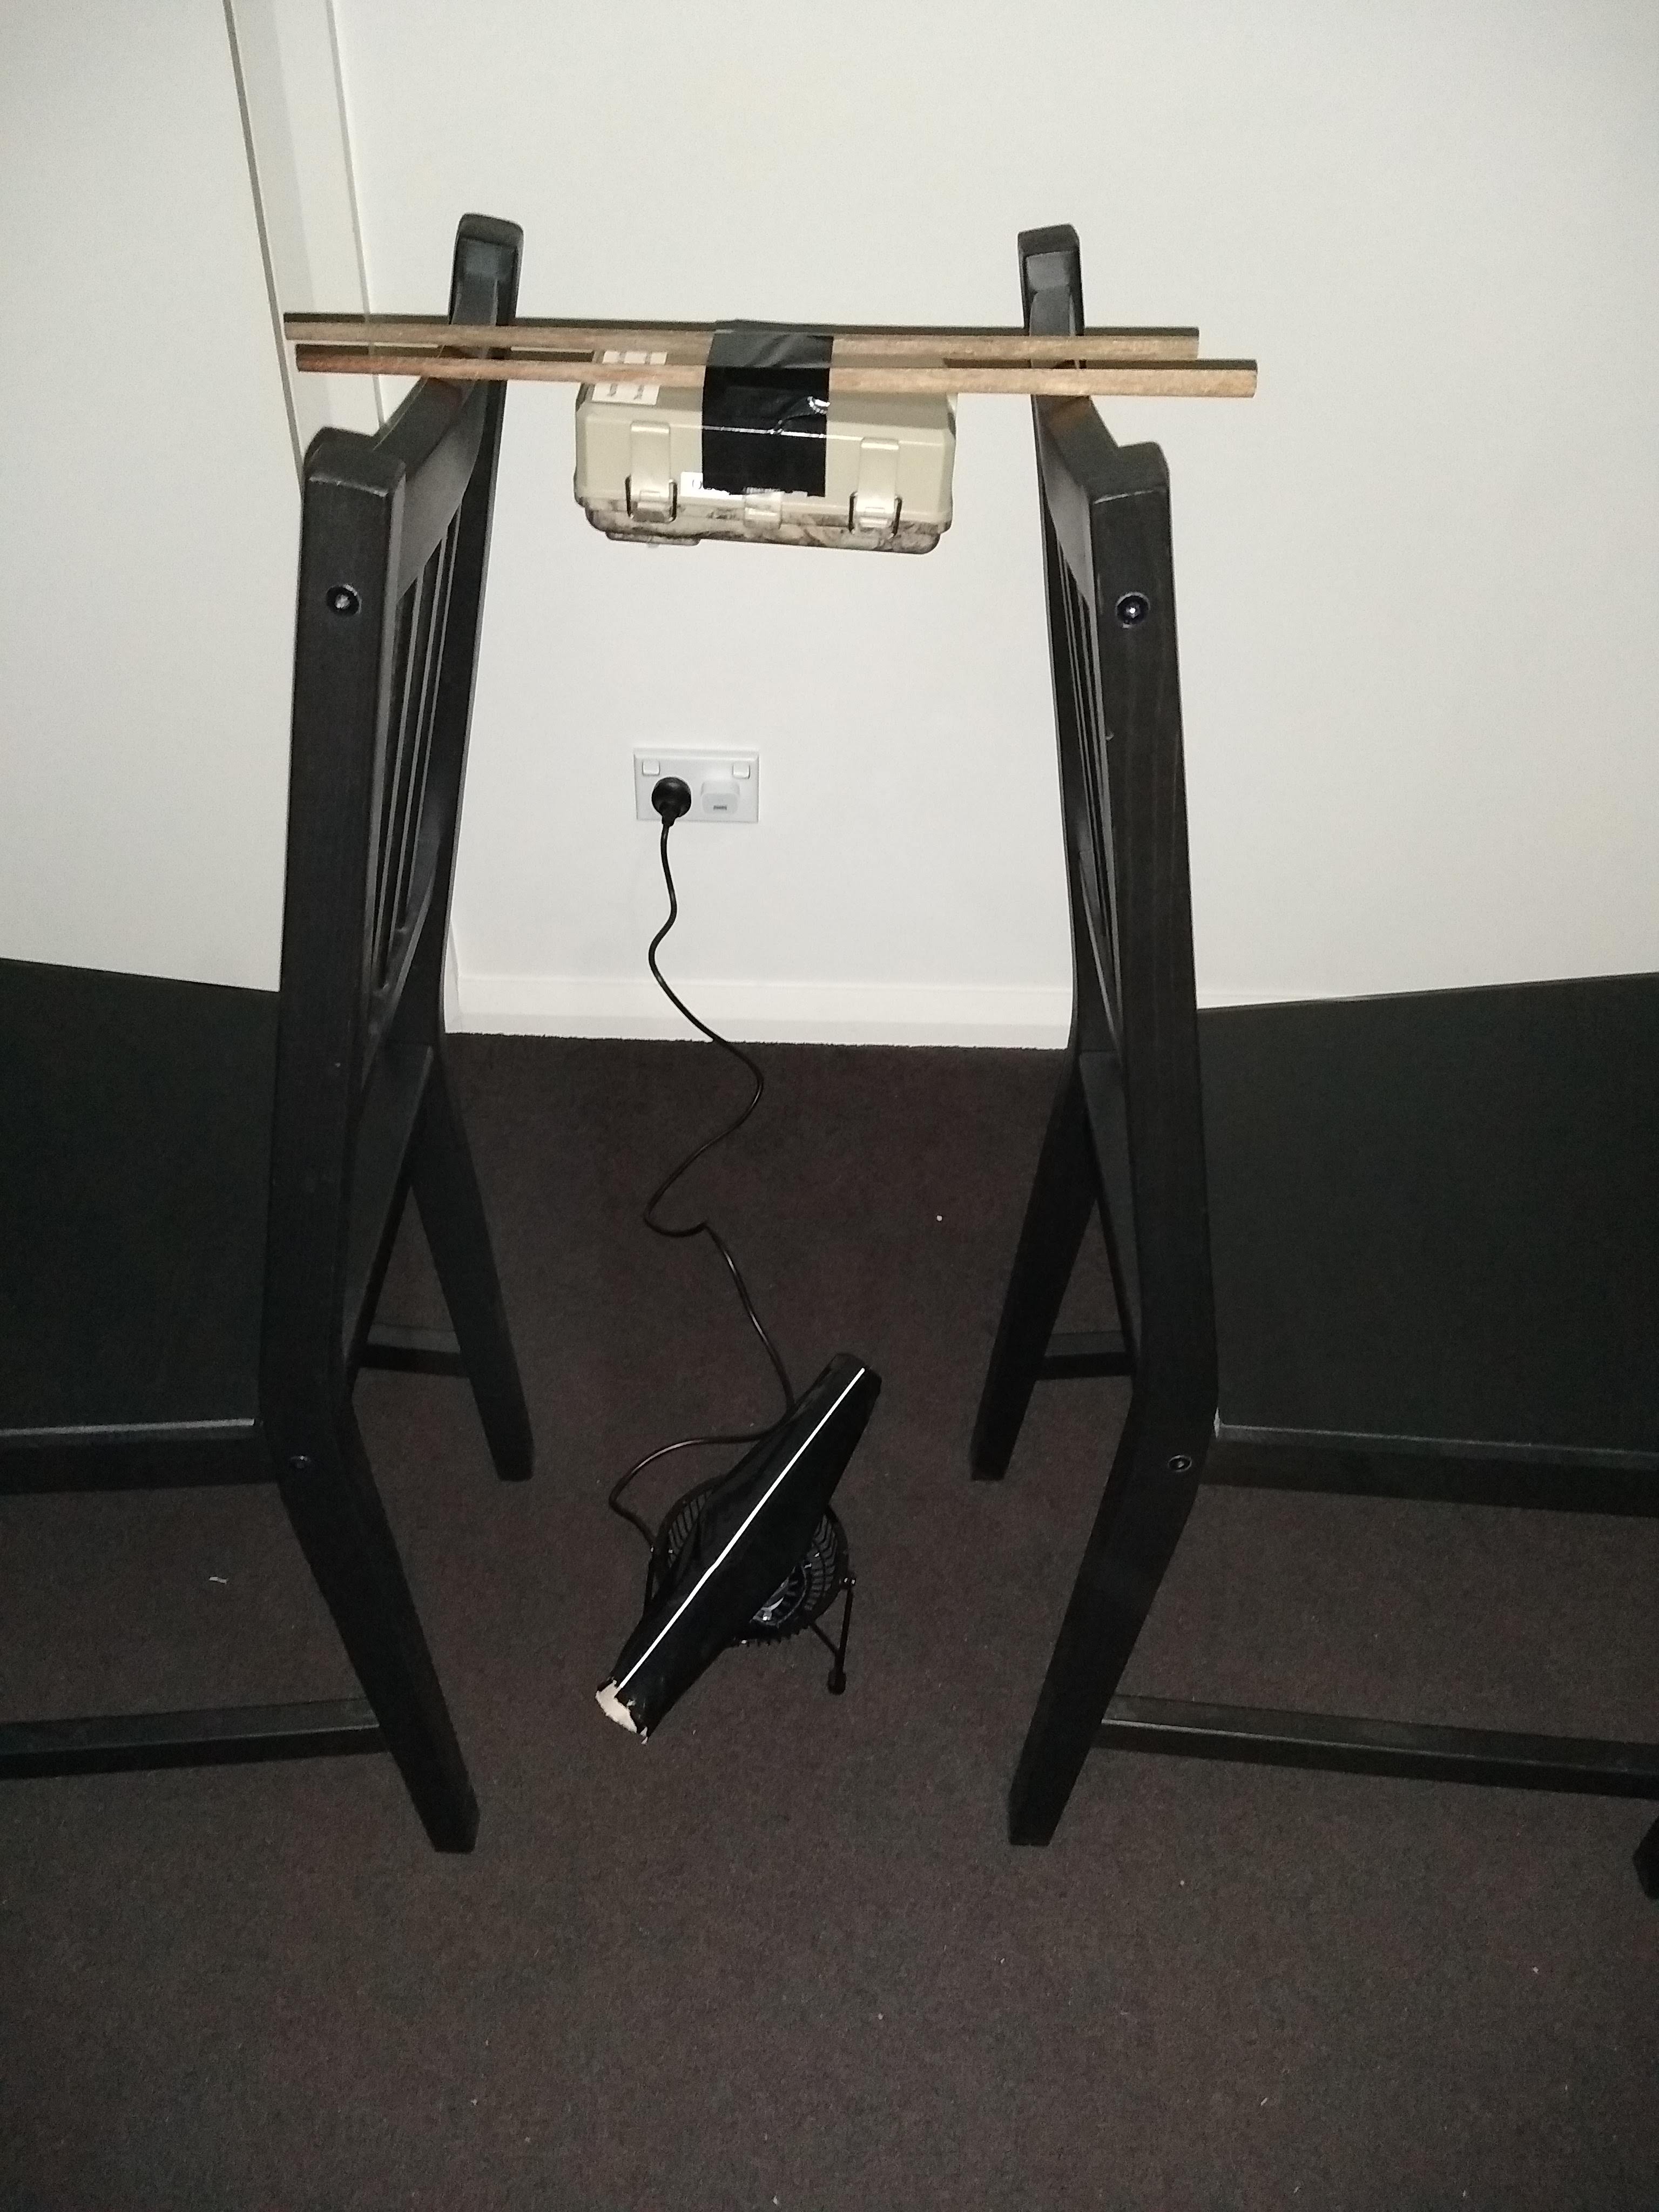
Make a device which spins a white line about its centre at a constant rotational velocity. For the line, We used a cardboard tube from a roll of paper towels with a line of paper taped to it. The tube was taped to the blades of a small desk fan. The inertia of the cardboard tube helped ensure that the line would rotate at a constant rotational velocity.
Measure the rotational velocity of the line by synchronising a strobe light to the rotations of the line. We found the Strobily Android app to be very useful for this. This will be easiest in a dark room.
Mount the camera you wish to measure facing the rotating line, ensuring the camera is steady.
Take (multiple) photos of the rotating line, under illumination by the camera’s infra-red LED flash. If using wildlife cameras, it is recommended to do this buy using the camera’s timed capture setting, so that it is not bumped while taking the photos.
Load the images onto your computer and follow the steps in the Camera calibration notebook.
Camera settings
In general, the specific settings you use depend on the research question, but our suggestion is to use a time-lapse function, rather than (or in addition to, if available) passive infra-red (PIR) motion detection to trigger the camera. This is because insects will not be detected by the PIR sensor.
Other settings are up to the user. We use the highest available quality setting and have set the cameras to only take photos during the night.
It is recommended to take note of the timestamp from when each camera is set up, as well as when it is collected (both in real time and the time according to the camera). This will enable camfi to correct the timestamps if the camera’s cloack was incorrectly set, or if the camera’s clock speed is inaccurate. We have found that the easiest way to do this in the field is to take a photo of the screen of the camera (showing the camera’s clock time) with a smartphone before placeing the camera, and upon collecting it. The timestamp of this photo (made by the smartphone) will represent real local time, assuming the smartphone is setup to synchronise it’s clock with the mobile network.
Camera placement
When placing the cameras in the field, they should ideally be placed such that the background of the images is more or less uniform (for example, at the sky), but again, this may be constrained by research questions. Note that noisy backgrounds (for example trees) may make it harder to see flying insects in the foreground, for both humans and the automatic annotator.